 I have wanted a laser engraver for quite some time but the price has always been prohibitive for me. Recently though, I found some engravers from china on Amazon for about $500.00 USD and free shipping. Plus, I contacted the vendor and found that the unit would ship from California. I read all the reviews and they all agreed that the machine is great. However, the downside of these machines was the software that is included. After carefully considering all the relevant information I decided to purchase one.
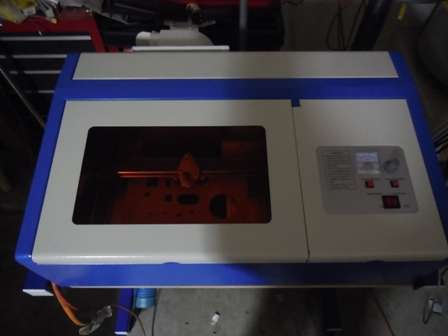
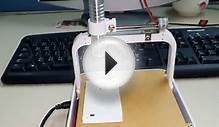
The machine arrived in two days and to my dismay the packaging was damaged. Upon unboxing the machine I discovered that the window was damaged. I contacted the vendor and they offered to give me $50.00 back and I keep the unit, or I could return it and they would send another. I told them that I would test the unit out and then, if there were no other issues, I would decide which option I would pursue. In the end, everything worked well and I decided to keep the unit and accept the partial refund. Below is a picture of the unit.
Using acrylic glue, I was able to mend the window well enough. It is not easy to see in this picture, but the crack is significant. The next hurtle was the Moshidraw software that came with the unit. It was an abomination! I spent weeks trying and countless hour researching on the web. But alas, it was hopeless.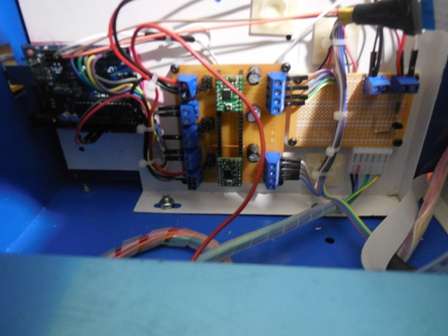 It seems that there are a multitude of versions out there and I could not find a solution that would work for me. I decided to remove the interface card, which only works with the Moshidraw software, and use an Arduino Uno with GRBL 9i to run the machine.
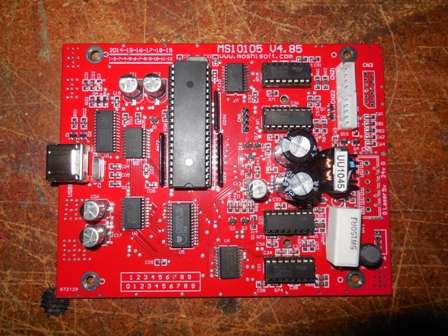
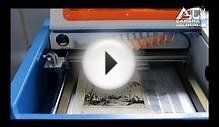
I started by removing the Moshi card from the machine and scavenging the connectors from that board. Below is a picture of the Moshi board.
If you look closely you can see where I removed the connectors from the left side of the board. The folks at Adventures in DIY Engineering (ADE) used an Arduino Mega with a Ramps 1.4 and a version of Marlin that has been modified for the laser engraver. I elected to use an Arduino Uno and my own homebrew stepper driver breakout board with A4988 drivers installed. Below is a picture of my setup.
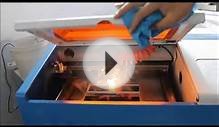
So you can see in the picture above the Uno is on the far left, in the center is the driver board, and to the right is a proto board that provides a breakout for the power supply connetions. On the proto board is a 2n2222 transistor that serves and a buffer between the Uno I/O pin and the laser drive control.

RELATED VIDEO
Share this Post
latest post
-
 Online College Graphic Design courses June 26, 2026
 -
 Local Graphic design Companies May 27, 2026
 -
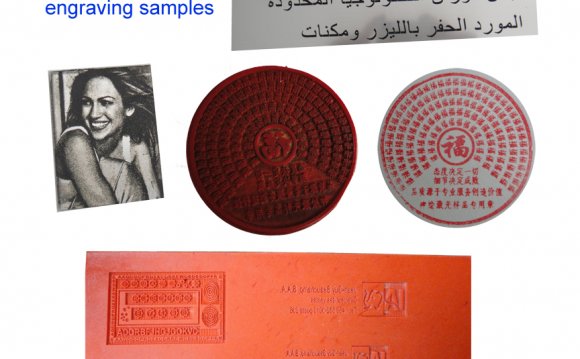
 Engraving Prints April 27, 2026
 -
 Starting a Graphic Design Studio March 28, 2026
 -
 Laser engraving machines UK February 26, 2026
 -
 Graphic Design courses Ontario January 27, 2026
 -
 Graphic Design Montreal School December 28, 2025
 -
 Fiber Laser engraving machine November 28, 2025
 -
 Graphic Design courses Atlanta October 29, 2025